
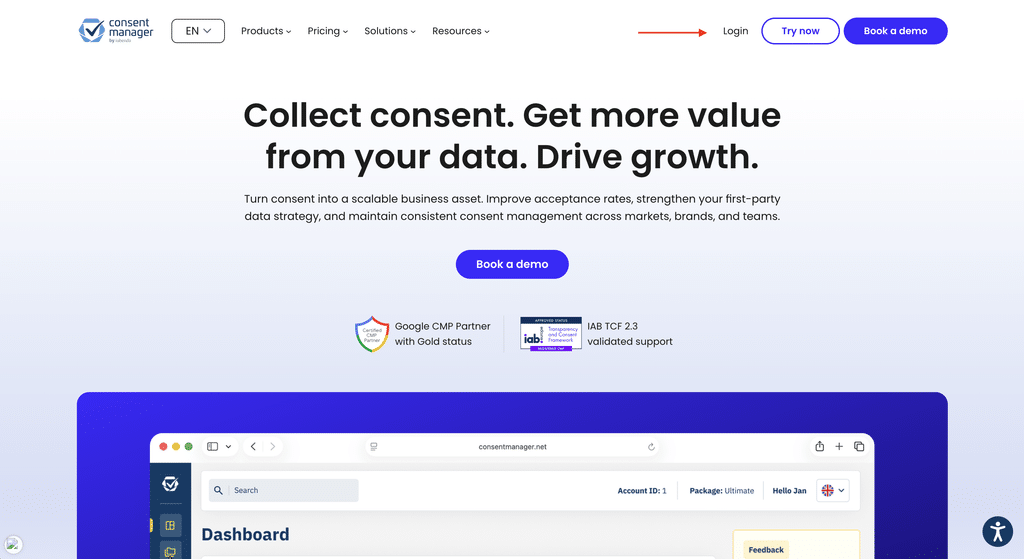
Go to app.consentmanager.net, or use the Login link in the top right of consentmanager.net.
Logging in takes two steps: enter your username, then your password on the next screen. If you have two-factor authentication switched on, you will also be asked for a code.
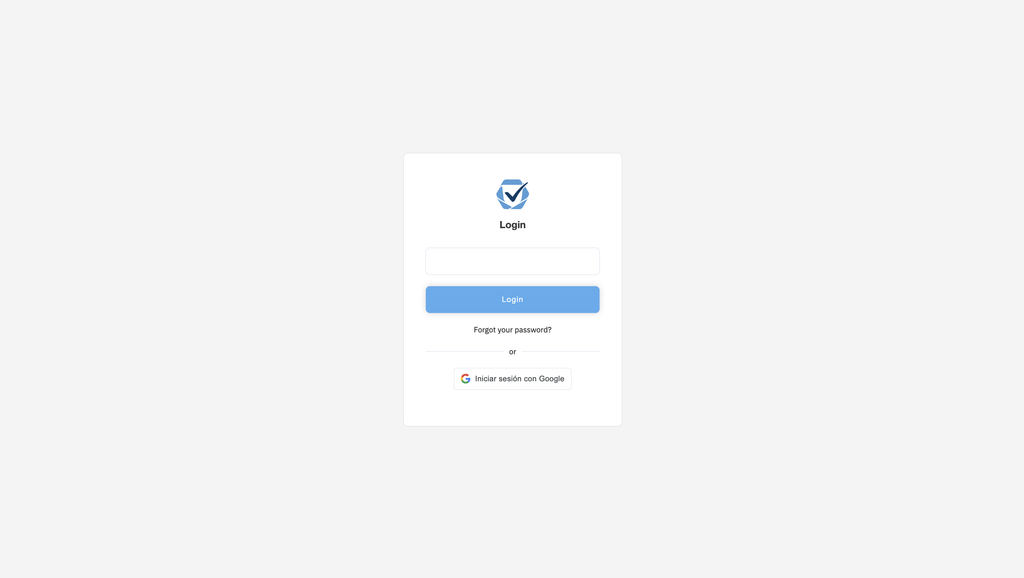
Username or email address?
Both, and they start out the same.
- Your email address is where consentmanager sends account email: activation, invoices and notifications.
- Your username is what you type into the login form.
When your account is created, the username is set to the email address you registered with. So at first, typing your email address and typing your username are the same thing.
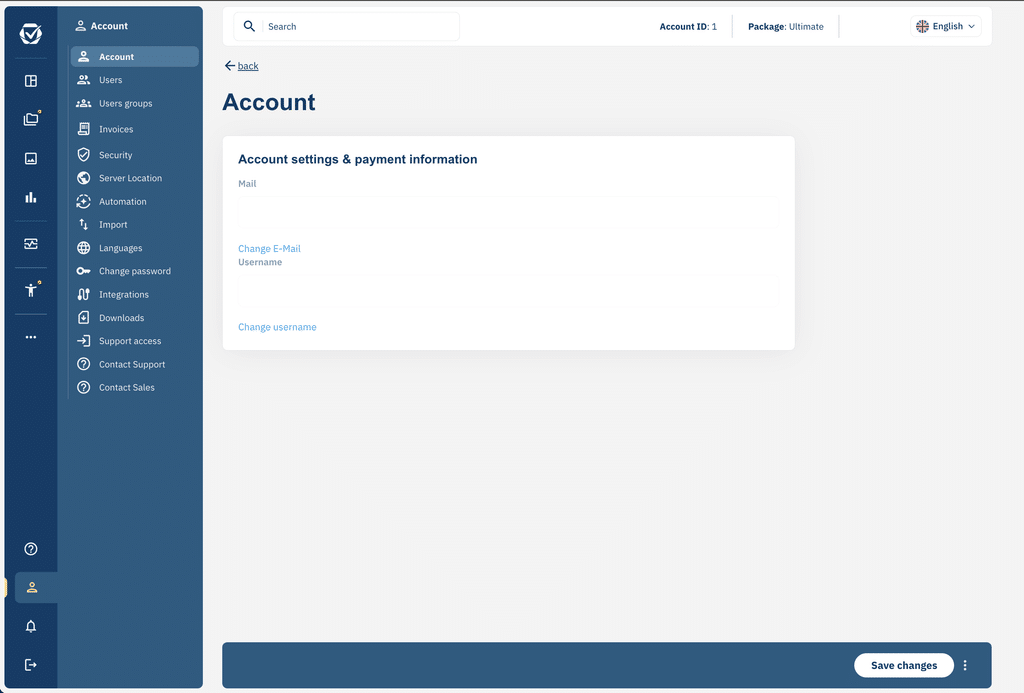
They are two separate fields, and you can change either one independently under Account > Account Data > Edit, in the Account settings & payment information box. Each has its own change link.
If you change your username, use the new username to log in from then on. Password resets also ask for your username, not your email address. See How can I update my account’s main settings?
If you were invited to someone else’s account
If an admin added you under Account > Users, you will get an email asking you to set your own password. From then on you log in with your own credentials, separately from the account owner. See How do I give multiple users access to the same consentmanager account?
Forgot your password?
Use Forgot your password? on the login page and enter your username. You will get an email with instructions.
What you will find once you are logged in
The dashboard opens first, with your consent timeline, traffic, acceptance rate and risk score. The sidebar groups everything else:
- CMPs: your CMPs and their settings, including General, Privacy Policy, Crawler, Legal, Integrations and Publish
- Configuration: Purposes, Cookies and Vendors
- Designs: Settings, Preview and Texts for your banner
- Get codes for: Websites, Apps and more
- Reporting and Monitoring
- Account: account data, users, invoices and security
As a first step, create a CMP and add the code to your website. Everything else can be changed in the system afterwards, without editing the code on your site.